
Staining wooden furniture isn't just a matter of stripping off one finish and applying another. Preparing the wood takes both time and elbow grease, but it's vital to the success of your refinishing job. The finish is only as good as the preparation for it.
Do I need to Strip?
If you project is stained, sealed or painted your going to need to chemically strip the surface to remove the finish and allow the new stain to penetrate into the raw wood. Make sure to always follow the instructions of your stripper and always wear a respirator, protective eye ware, apron, long sleeves, closed toe shoes and professional grade stripping gloves.
Once your project is fully stripped you want to repair any damage and give it a light sand. Clean your wood thoroughly, and clean your work surface with a soft, lint-free cloth. This will ensure that no dirt, debris or sawdust clings to your finished surface.

Carol's Oak dining table stained with Galvanized Grey

Reena's vintage cherry bedframe stained with GreystokesGrey.
Coffee tabletop stained with Barn Wood
TV Stand top stained using Barn Wood

Dining Table stained using Burlap

Antique bedside table stained using Ivory

Livingroom set tabletops stained using Barn Wood

Oak dining tabletop stained using Burlap

Oak table top stained with Cast Black

Pine buffet cabinet top layered stains of Coco Brown, Greystokes, Cast Black and dry brushed with Bone White.

Pine sign stained with Fireball.

Pine sign stained with Sapphire Skies.

Fir harvest table stained with Little White.
Fir blocks stained with Burlap, Little White and Trainstation.
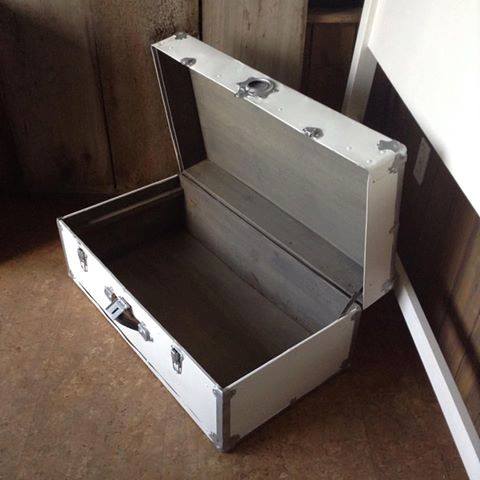
Pine trunk sheathing stained with Trainstation.

Sample board of pine stained with 1:2 ratio Superior Paints
and sealed in Top Coat.
How To: Mix a Superior Paint Stain
High Hide Stain (Very little grain will show through)
1:1 Equal Parts Superior Paint and Water
Semi Transparent (Medium Coverage)
1:2 Superior Paint and Water
Transparent (Very Light Stain)
1:3 Superior Paint and Water

Rusty Nail on fir from left to right: High Hide, Semi Transparent, Transparent and raw fir.

Black Mountain Black on fir from left to right: High Hide, Semi Transparent, Transparent and raw fir.

Midnight Hour on fir left to right: High Hide, Semi Transparent, Transparent and raw fir.
Directions:
1. Pre soak:
Using a damp rag wipe down your piece with water this will open the pores of the wood and allows the wood to accept the stain.
2. Staining:
Once your pre soak is dry its time to start staining!
Dip the edge of your brush in the stain and apply a thin layer of stain to the surface of the wood. Always brush along the grain using long, even strokes. Work on one portion of the wood at a time instead of trying to stain the entire piece all at once.
3. Wipe off
Take your staining pad or clean rag and wipe off the access following the grain.
Make sure to wipe off with smooth even pressure passes starting at one end of the piece to the other without starting or stopping. Wait for the stain to completely dry. If the color is not as deep as you would like, then apply additional coats or different colours of stains to to add richness to the piece until you achieve the desired result. Make sure to let each coat dry completely before adding an additional coat.
4. Top Coat Sealer:
HOT TIPS:
Things You'll Need:
